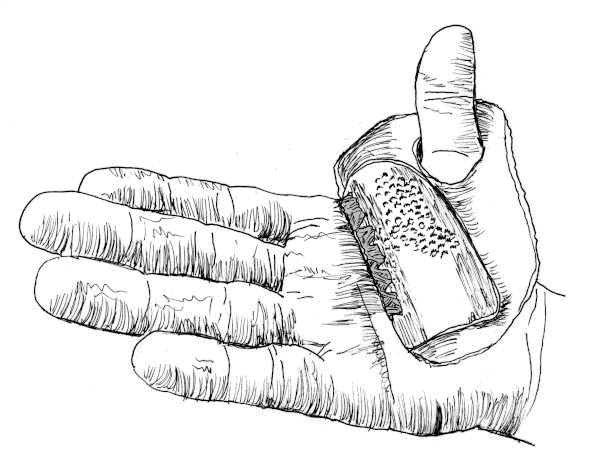
Figure 1: Sewing Palm.
| Home | Equipment | Ropemaking |
Figure 1: Sewing Palm.
If you are an historical reenactor, you're going to have a lot of gear that gets packed up, set up, re-packed, taken home, and stored. That means a lot of things to store your gear in. Bunches of bags and sacks.
If you are going to be making bags, and maybe mending your tent, you will be sewing in heavy material. Pushing a big needle through several layers of canvas is more likely to make a hole in your hand than the cloth. You need a sewing palm.
Modern rigging suppliers will sell you wonderful palms (either right- or left-handed), but they do not look like they come from the 18th Century. Embarrassing if you have to fix something while visitors are around. They also cost a lot.
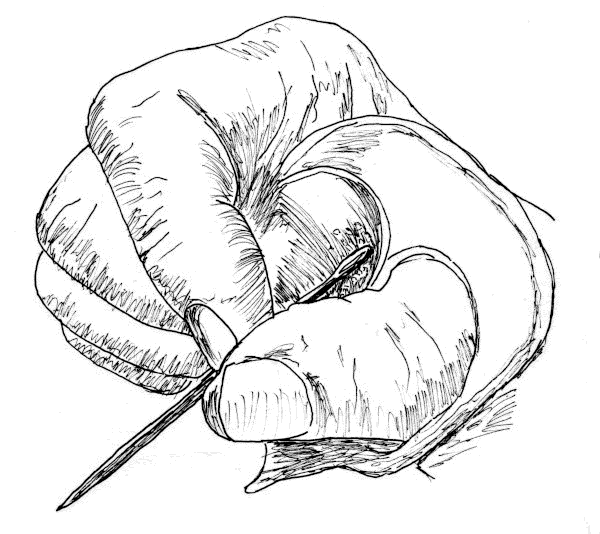
Figure 2: Sewing Palm and Needle.
The working section is a piece of copper pipe, split down one side, hammered out to fit the curve of my hand when I'm holding a needle between my thumb and forefinger. The edges of the copper are trimmed so they don't dig into the other parts of my hand.
The dimpling was done with a hammer and a dulled nail. I dimpled more than I needed to, because I wasn't sure where the needle head was going to end up once the leather and copper were put together.
I drilled a series of holes down the edge of the copper away from my thumb, punched matching holes in the leather, then sewed it all together.
I've made The Sailmaker's Apprentice[604] ditty bag, a dozen or so other bags, and my tent with this palm.
| Colophon | Contacts |